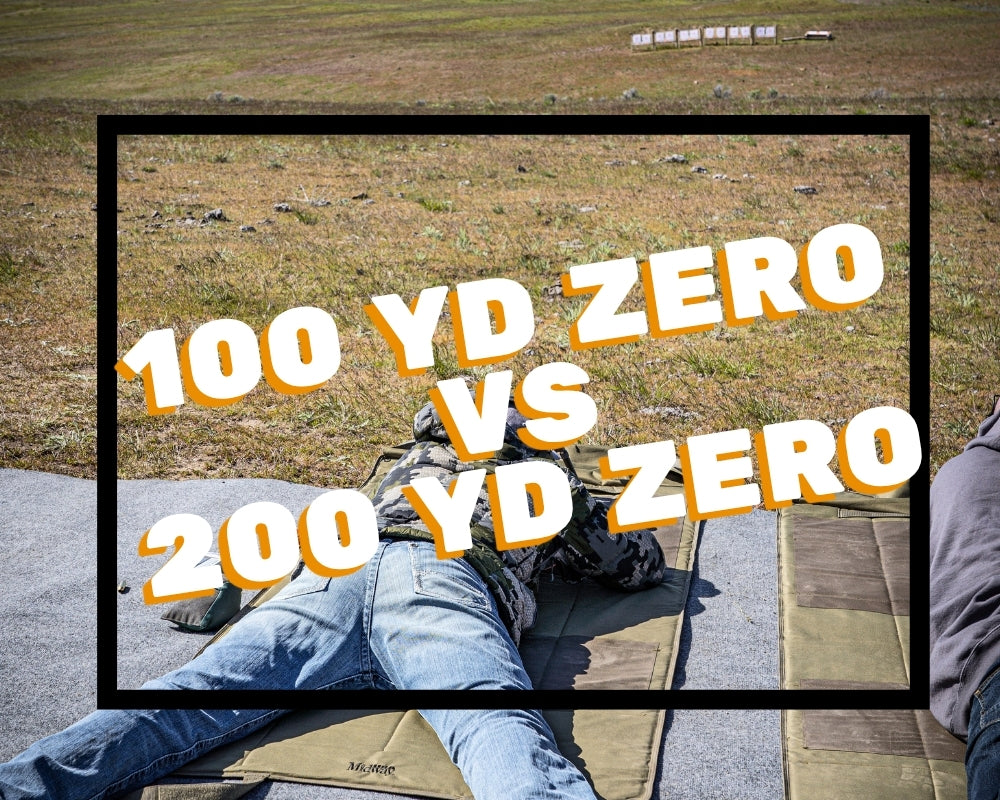
Where you zero your rifle affects every shot you take at any distance. A 100-yard zero and a 200-yard zero behave very differently downrange — here's what you need to know to pick the right one.
The 100-Yard Zero
A 100-yard zero is the most common starting point and the easiest to confirm at a standard range. It's simple, repeatable, and gives you a clear reference point. The downside: at longer distances, your bullet will be dropping more steeply than a 200-yard zero would require, so you'll need to hold over or dial more at extended ranges.
The 200-Yard Zero
A 200-yard zero takes advantage of the bullet's natural arc. With most rifle cartridges, the bullet crosses the line of sight on its way up around 25–50 yards, peaks slightly above zero near 100–150 yards, and returns to zero at 200. This gives you a relatively flat trajectory out to 200 yards without holdover — useful for hunting shots where you may not know the exact distance.
Which Should You Use?
For hunters shooting inside 200 yards in varying terrain, the 200-yard zero is often the more practical choice — point and shoot without worrying about compensation inside that distance. For precision long-range shooters who dial for every shot using a ballistic solution, the zero distance matters less since you're accounting for it in your data. In that case, a 100-yard zero is simpler to verify and work from.
At MOA, we run load development and confirm ballistic data for every rifle we build. Contact us to learn more about our process.
Leave a comment
This site is protected by hCaptcha and the hCaptcha Privacy Policy and Terms of Service apply.